Turning Product Descriptions into a list of attributes with Power Query

You can also watch the video version of this content here: https://youtu.be/5QDERKmMvZQ or watch the embedded video at the end of this post. It’s true Power Query magic.
One task data analysts often have to deal with is matching data from one table to data in another table. Let’s look at how we get our tables matched up in a new and powerful way: using Power Query Join and a custom filter Text.Contains function. First, let’s look at simple Table Joins in Power Query and build-up to the third demo in this post where we will create a whole new way of matching two tables.
Basic Power Query Join (Table/Merge)
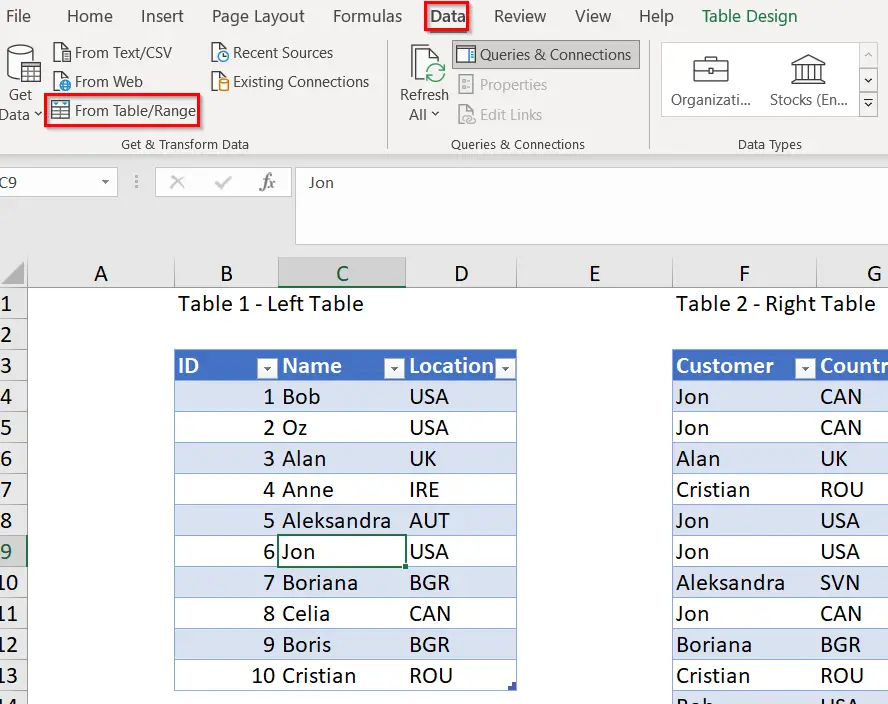
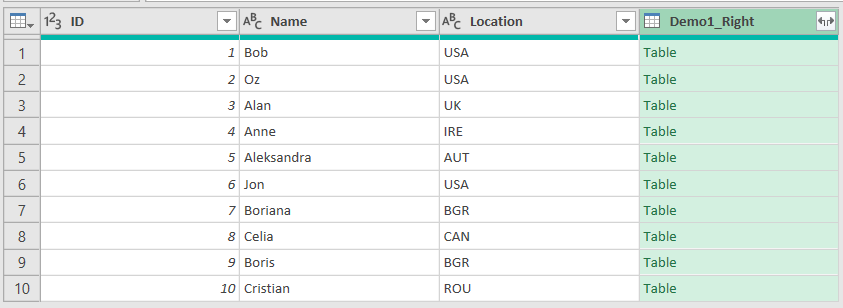
Let’s look at a simple example. Data is in the following tables:

We want to match records by both name and location. To achieve that, we take the following steps.
Load both tables to Query by clicking anywhere within the table and then selecting Data > From Table/Range.
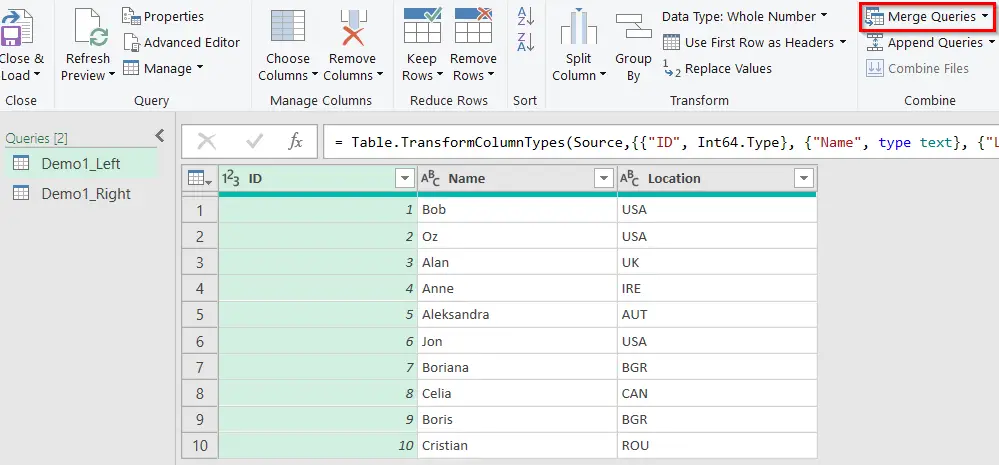
With both tables loaded in Query, select Merge Queries.
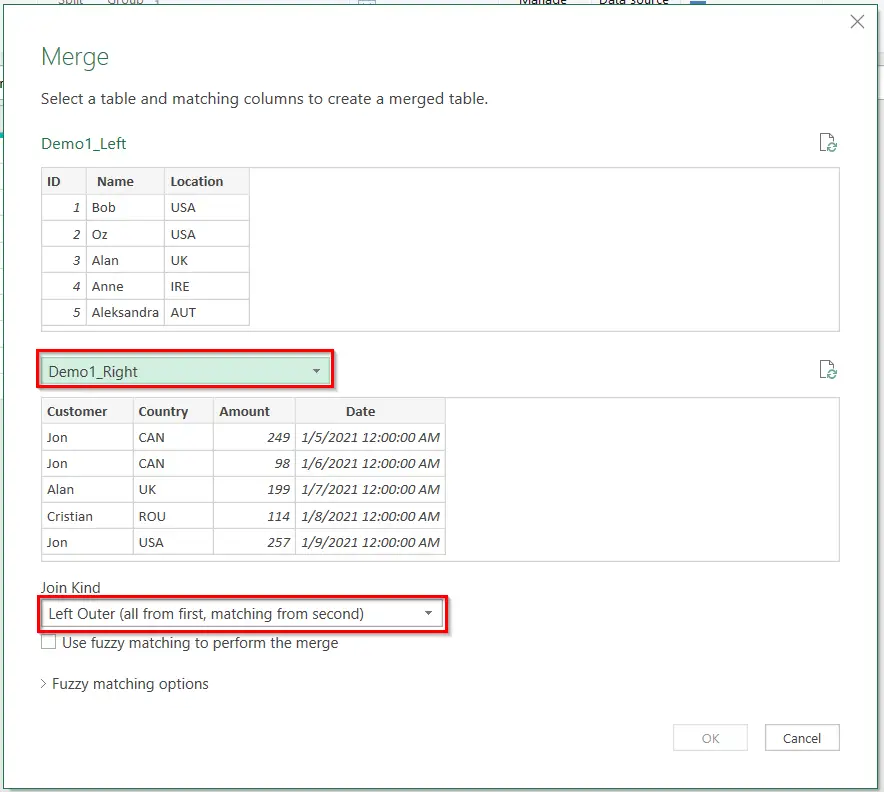
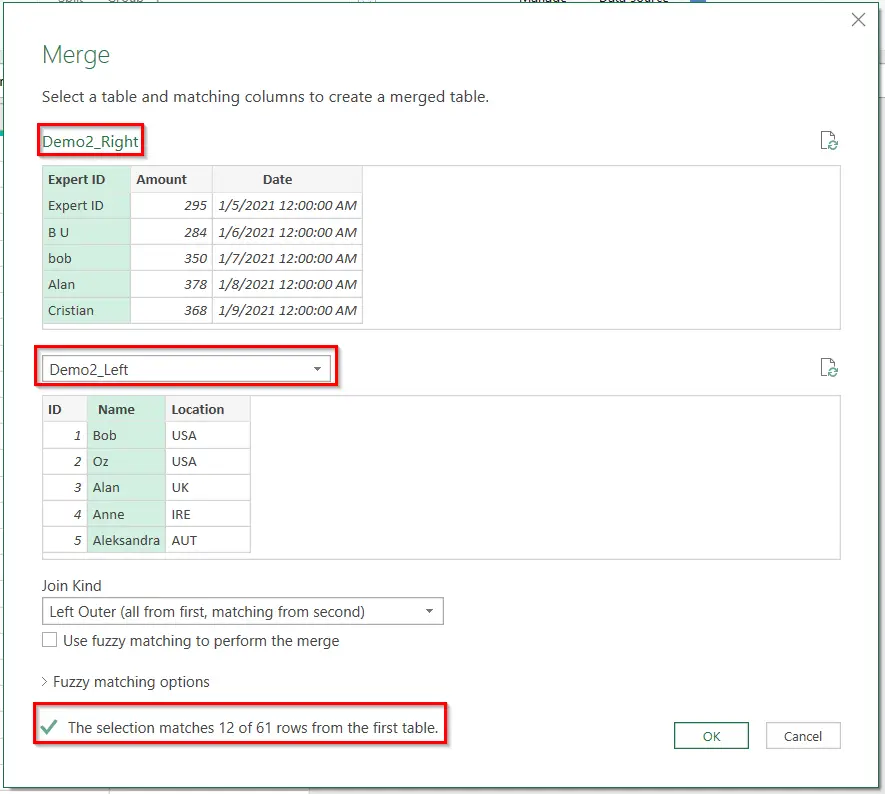
Set the right table Demo1_right as the second table and select Left Outer as the Join method.
Select the name and location column in both tables.
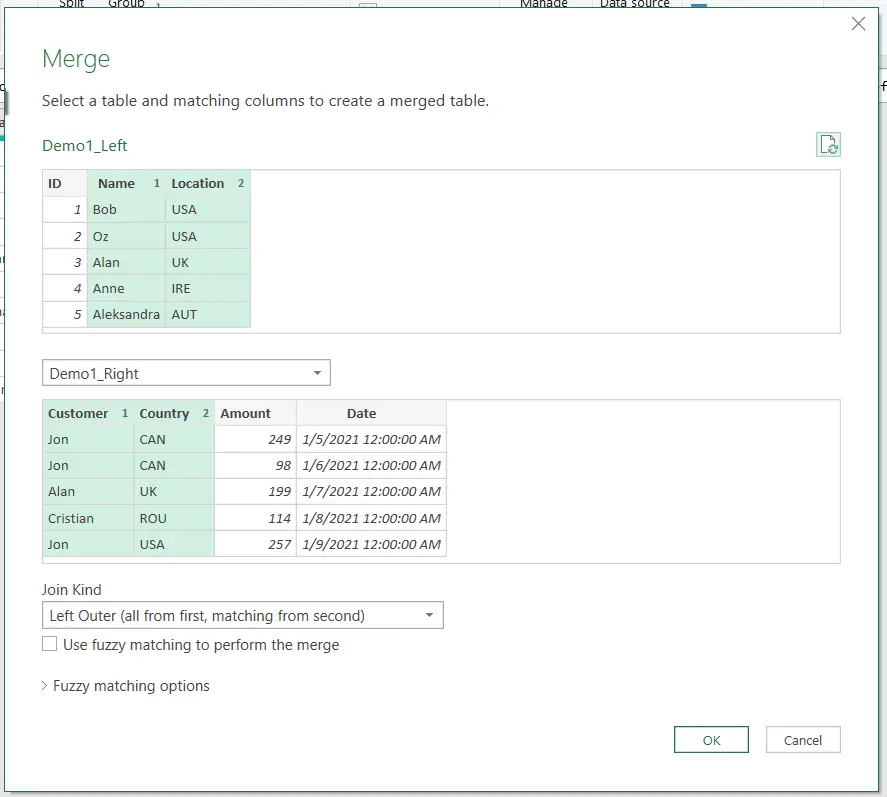
Confirm with OK, resulting in the following.
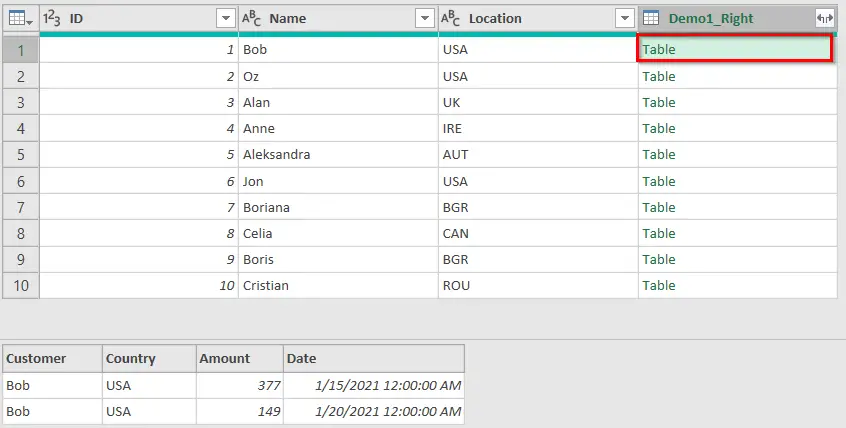
By clicking on any cell in the Demo_Right Column (not on the word Table, but anywhere in the blank space next to it), we can preview the matched records below.
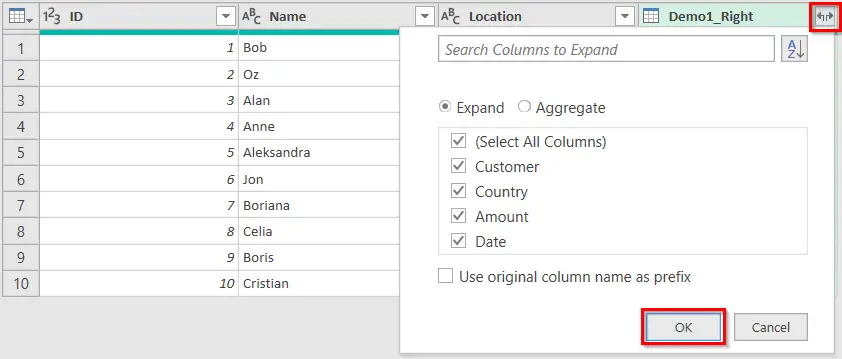
Select the Expand button and confirm by clicking OK.
In the resulting table, we can see all the matched-up records from both tables.
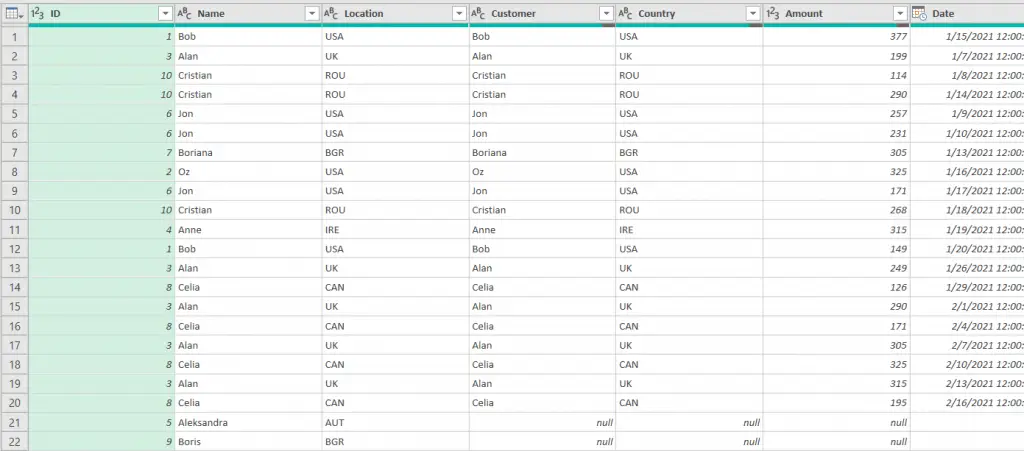
Table.Join is one of the single best features of Power Query and it’s even more powerful if you use it not to merge two queries but to merge two steps as you can read here. As for our example let’s continue by taking things a step further.
Power Query Join using Fuzzy Matchup
Next up, we have a real-life version of the same data. It’s the same two tables but with data at its »ugly« stage – with different cases, added last name letters, etc. Now let’s use Power Query and Fuzzy Matching to solve this.

Our goal remains the same. Match up records from both tables and find a way to ignore the difference in the case of words/letters following the first name. We proceed with the following steps.
We again load both tables to query by clicking anywhere within the table and then selecting Data > From Table/Range.
With both tables loaded in Query, select Merge Queries.
This time set the Demo2_right as the left table (yes, I know it’s confusing 🙂 ) and Demo1_left as the right table. Again, select Left Outer as the Join method.
Consequently, you will notice there are only a few matches.
Tick the box to Use fuzzy matching to perform the merge. More options are now available—tick both the Ignore case and Match by combining text parts.
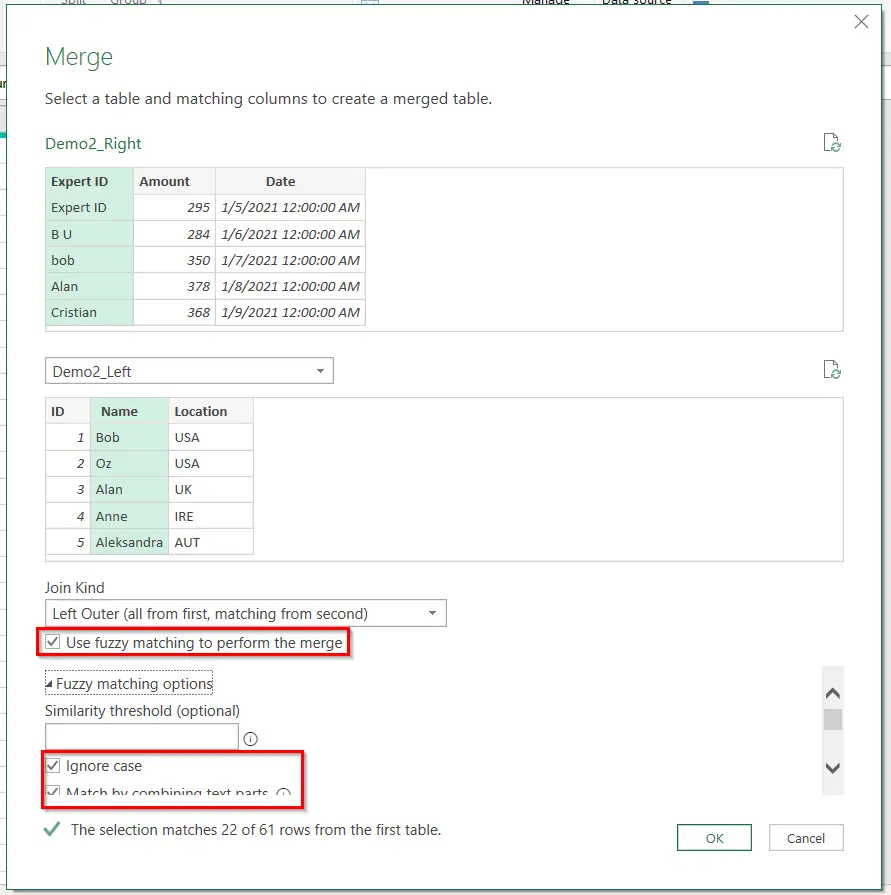
You will notice the number of matches now increases.
We click the Expand button again and this time this is the result.

Notice how »bob« beautifully matches up with »Bob«!
Next Level Matchup
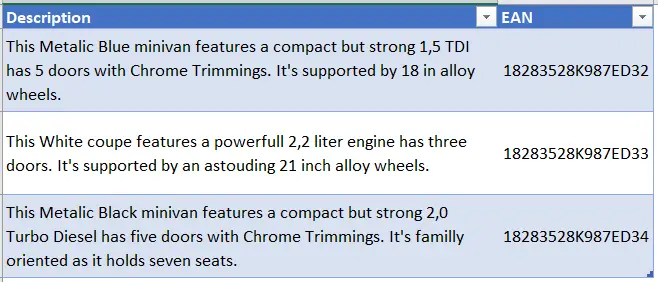
And last but not least, we have a match where we match text that is not the same and are in search of partial matches but realize that even those may be different. We start with data in the form of paragraphs.
For example, descriptions of products, as shown in the image below.
As a result, we want to get a table of all the attributes. The result we are striving for can be seen in the image below.

The problem is attributes are described differently in every row. For example, »5 doors« appear as »5 doors« in one entry and as »five doors« in another. This is why we start by defining a Translation Table where each row contains all the possible appearances belonging to one attribute.
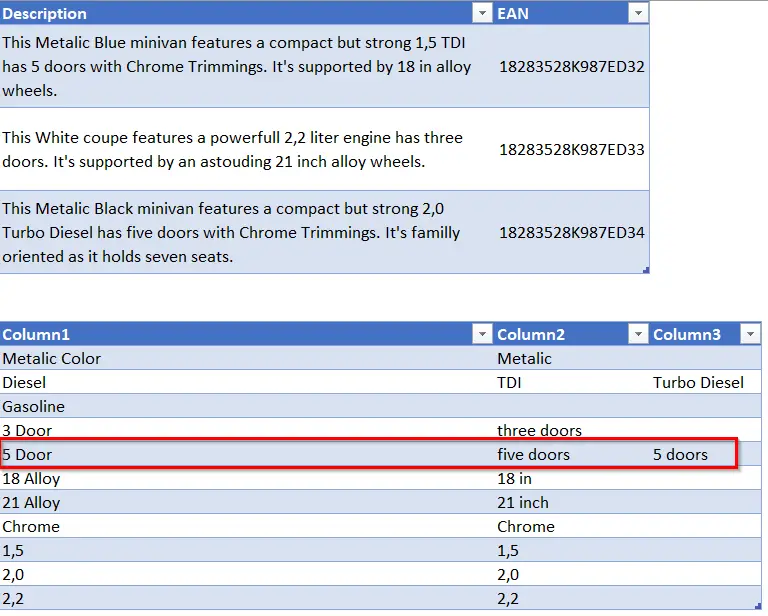
For instance, we want »5 Doors «, »five doors, « and »5 doors« to be synonyms. We follow the steps below.
Again, load both tables to Query by clicking anywhere within the table and then selecting Data > From Table/Range.
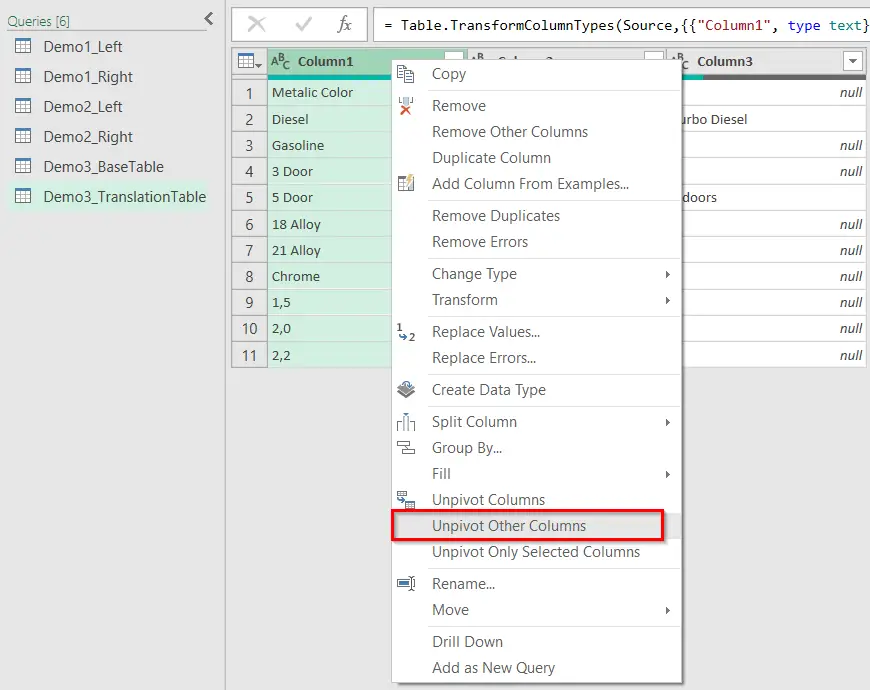
We named our queries Demo3_BaseTable and Demo3_TranslationTable. Select Demo3_TranslationTable and select Column1. Now use one of my favorite commands in Power query: right-click> Unpivot Other Columns.
Delete the Attribute column and name this last step Specs (by right-clicking the Step Name and Choosing Rename).

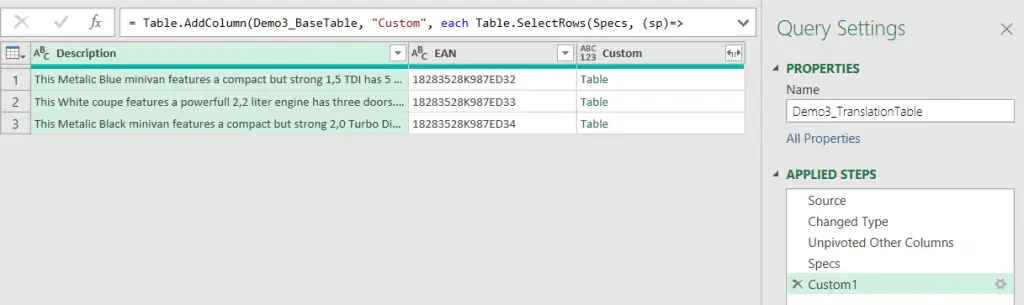
Type in the following formula in the formula entry bar.
= Table.AddColumn(Demo3_BaseTable, "Custom", each Table.SelectRows(Specs, (sp)=> Text.Contains([Description], sp[Value])))Arguments are as follows:
- Demo3_BaseTable is our BaseTable
- “Custom” is the name of the new column
- Specs are the previous step
- (sp) is the abbreviation for Specs step
- Description is the column of our Demo3_BaseTable
- sp[Value] is the Value column of Specs or sp table
The formula adds a column to our BaseTable. It goes through each Specs[Value] value and checks if it’s contained in Demo3_BaseTable[Description]. It then returns all the contained values for each row.
At this point, we have the result below.
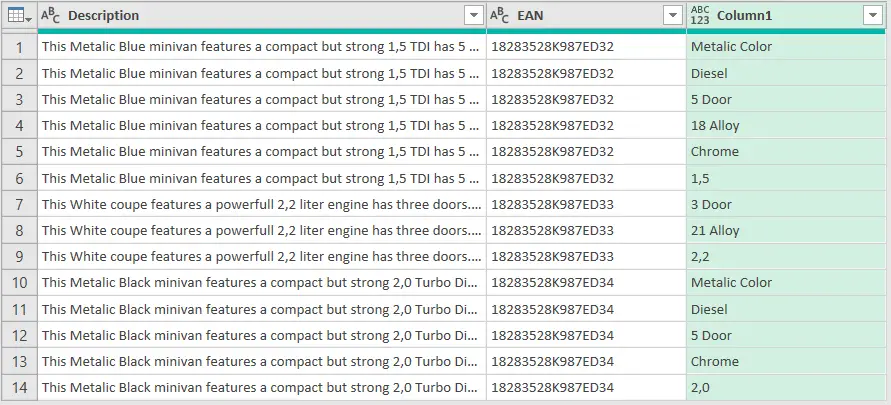
We select to expand Column1.

As a result, we end up with the table below.
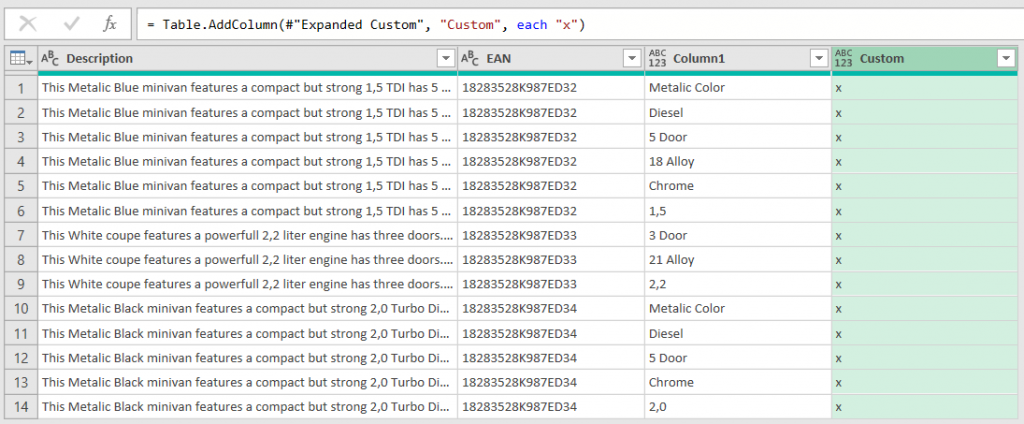
Next you select Add Column > Add Custom Column and type in “x”.
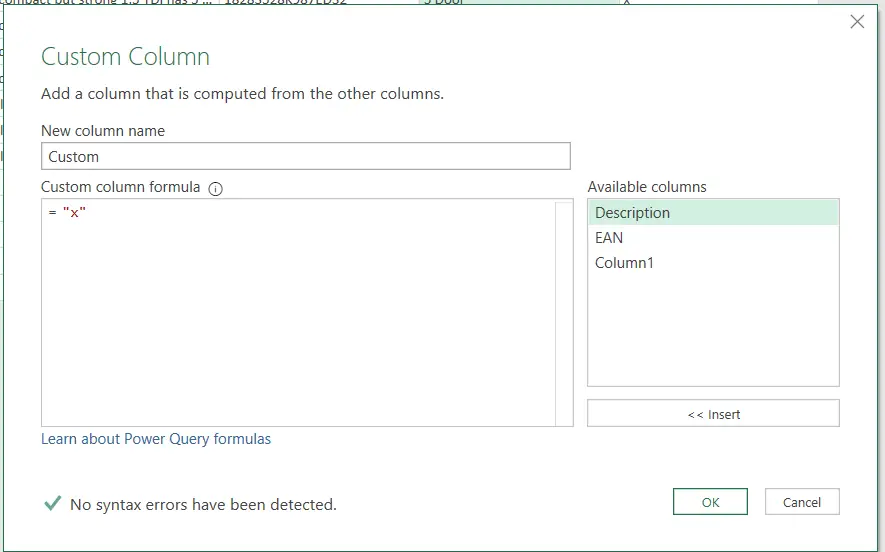
Here is the table we get.
We click on Column1 and select Pivot. Now we select Custom column as values.
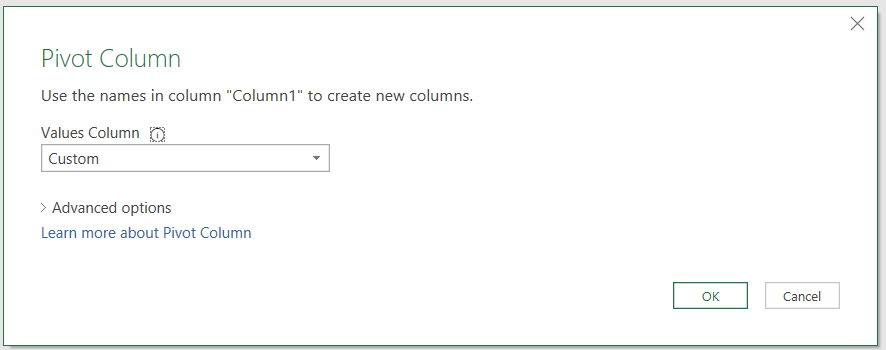
Consequently, we get the final table.

Finally, we load the result to Excel.
Just brilliant!
Now here is the video version of this post where you can visualize things better
Excel Unplugged acknowledgements


Donate